Interior photography - features, tips, interior photo processing

The life of modern man is difficult to imagine without advertising. It is through advertising that customers learn that a brand has released a novelty, where you can stay on vacation, etc. Interior photography is a kind of promotion of real estate and is designed to capture in the best light different interiors. An interior photographer may become necessary a hotel, a cafe, a real estate agency, an entertainment complex and other customers who want to attract new customers through interior advertising. In this video “5 Tips For Shooting Interior Photography”, a couple of photographers with their charming little dog in bright colors will tell you and show you the basics of the shooting interiors. But we will talk about this and the rest further.
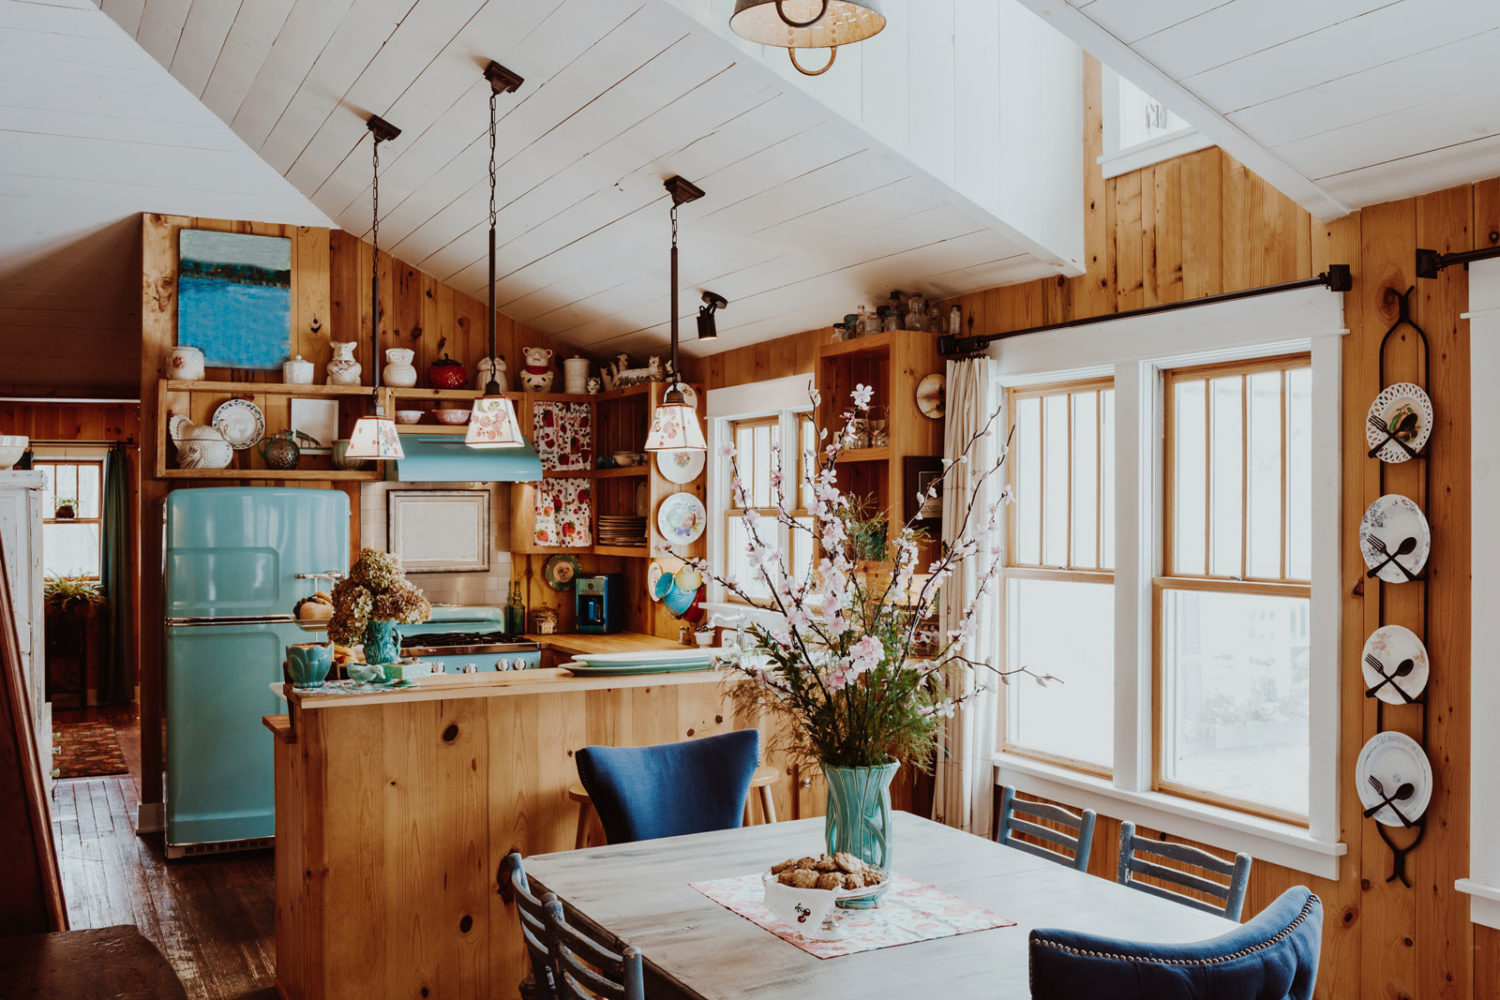
As we know the first impression about both the depicted object and the level of the company that offers its services, the potential customer gets exactly from the photos. For many enterprises engaged in business, it is necessary to have an excellent interior and, of course, a photo of the internal premises is mandatory and necessary for conducting the correct advertising campaign. A real estate, architecture, interior design, restaurants and the tourism industry, hotels and theaters, exhibitions and galleries all require great photos of enclosed spaces to attract the audience.
Features of the interior photography
Alex Kotlik

The photography for real estate, the features of which distinguish it from portrait or macro photography can be of two types:
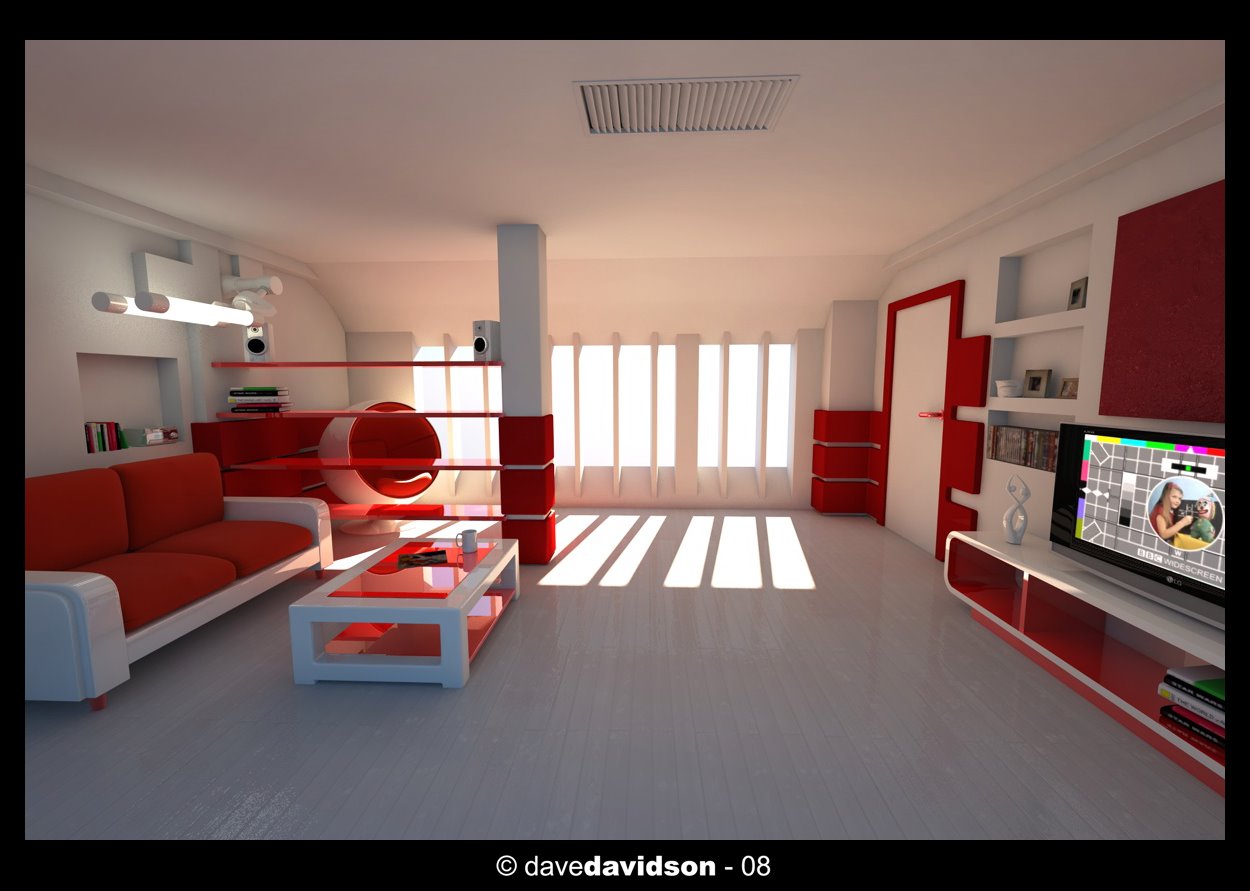
1. Information interior photography. Its goal is to convey reliable information through the photos to potential customers. Such photos will tell the audience about the various details of the interior, about the features of this or that dwelling or shopping complex;
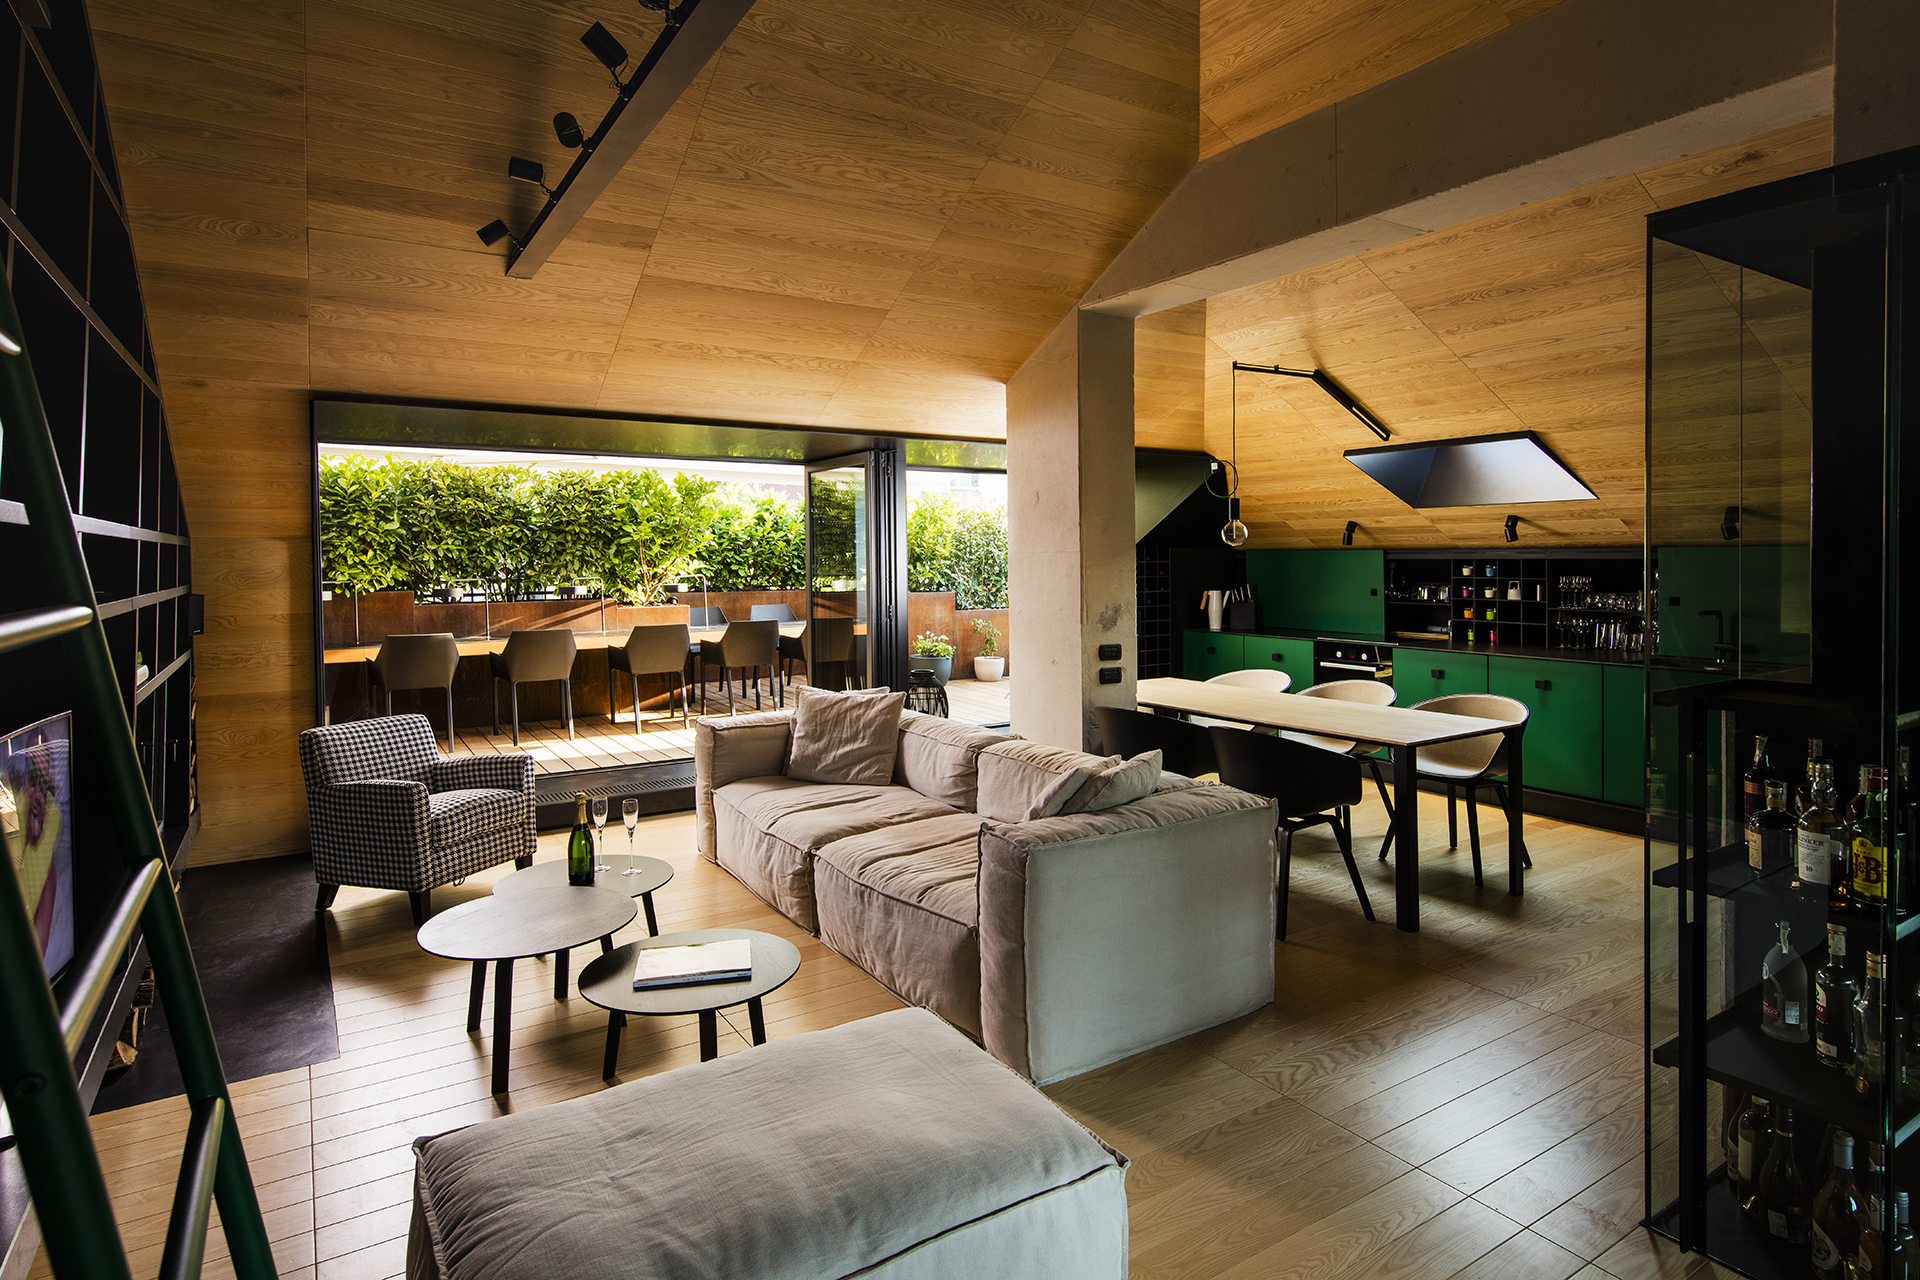
2. Aesthetic interior photography. This type of shooting will help to tell the audience about the aesthetic component of the object, about how different objects of the environment are combined into one.
 Iran Watson
Such pictures will differ substantially. The peculiarities of interior shooting in this case will be in a different focus, the color rendition of the object and in the texture of its details.
Depending on where you plan to post the photos, they can be of different sizes and correspondingly different extensions. For placement on the Internet is good interior photo session, consisting of a large number of small cadres. For printing, however, you need to pick up interior photos with a larger size, even if they are not even so much as in the first case.
Before you start shooting, always carefully inspect the room. It is necessary to remove all unnecessary that litter the cadre. Not only the scattered things or real rubbish refers to “garbage”, but also color spots that dissonant with the general tone of the room or get out of the color rhythm.
 Hilary Robertson
Remember that your viewer is building his own story about space through images. If there are a lot of different small distractions in the photo, it creates the impression of clutter and draws attention away from the interior and design itself. On the contrary, neatness in the cadre will allow the person who views the picture, make up his own story, feel himself in that place, get an aesthetic pleasure from what he sees.
To become successful in the field of photography for real estate and make beautiful high-quality images, you need to clearly define the goals, agreeing with the customer for the material, solving a lot of technical issues, picking up the equipment and adjusting the necessary interior camera settings, choosing a successful angle, capturing and featuring the profitable attributes of this or that interior, and correctly using illumination and the reflectance of interior finishes.

Photography for real estate: expert advice
When shooting an interior, many people give advice. But you need to follow only the advice of real professionals who know about the specifics of working with premises and interior not by hearsay. If you want to achieve the illusion of a three-dimensional image, giving the interior the effect of 3D, then this can be done by working with lines that go further into the room. It turns out the effect of perspective, and the picture on the picture seems to come to life. A professional interior photographer often uses this rule when trying to capture even the smallest details of the furnishings. Customers (viewers), studying such a picture, go around as if waking in the halls of a restaurant or the hotel room.
Juan Dorado
Photography for real estate, the complexities and features of which were discussed above requires a great concentration of attention and creative impulses from the photographer. That's why experts are not advised to shoot more than six hours a day; otherwise it will be too tiring and will affect the result of work. The decoration of the room in which interior photography is performed may take some time. Nevertheless, some parts cannot be removed or added, therefore, such processing of photos is carried out like this “CHARLESTON PHOTOGRAPHY | Digital Postproduction BEFORE & AFTER”.
But in order not to take the time of the photographer, you need to prepare the accommodation in advance for a photo session.
Change angles, camera tilts, try different lighting in order to develop your own unique style, if you are going to achieve the participation effect.
It is better to shoot from the abdominal level. The pictures from a height can distort the dimensions of the furniture; it will look ridiculous or preposterous. The low point of shooting adds intimacy to what is happening and allows the viewer to feel part of the picture captured in the frame.
If you shoot a property, design furniture, rooms in a hotel or something similar, you should take a photo that is able to “sell” the viewer what he sees in the image. And for this it is important to be ready for experiments, and try to generate ideas based on what will surround you. Try to make always more pictures than originally planned, because a client might like some of the options that you did not even initially bet on.
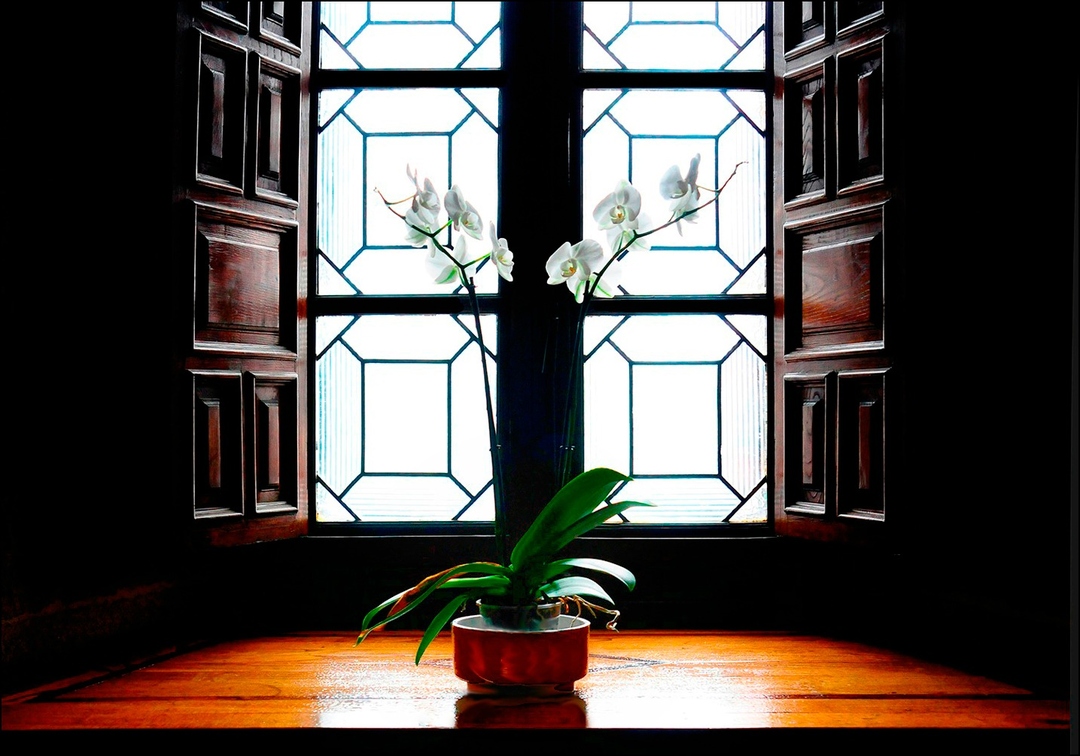
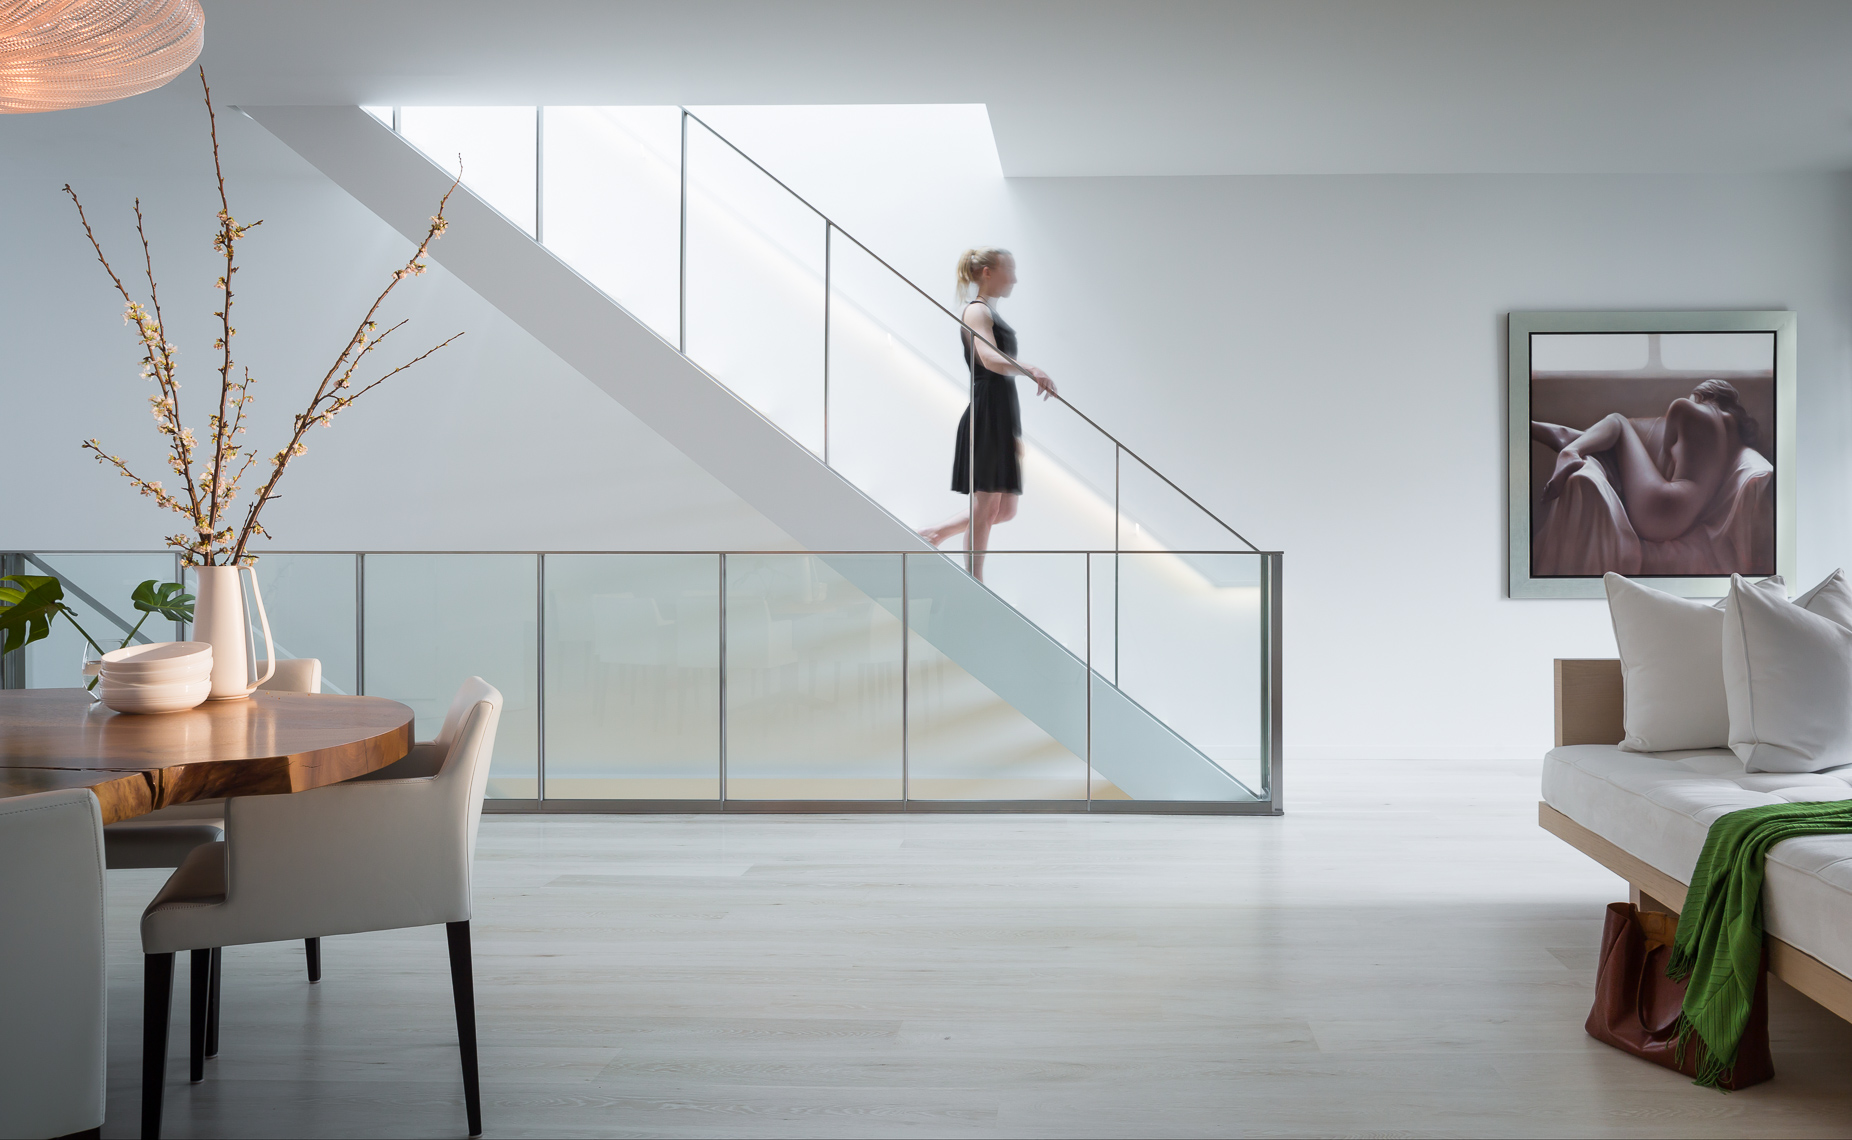
When you shoot interiors – carry out experiments as much as possible. Include in your photos frames, people or animals it's up to you. But even if you decide that there should not be a person in the room, it is always better to look at those rooms where “the smell of a living spirit” is, in other words the presence of a person is felt. In order to emphasize this, you can add to the cadre a small detail telling the viewer that most recently there was a person in the room an open book or a half-filled glass of water, maybe some toilet detail carelessly thrown on the back of a chair or armchair or a pet sleeping sweetly on a carpet in the rays of sunlight. All this will add comfort and a pleasant atmosphere to your picture. The main thing do not overdo it!
 Suzi Pratt
Interior photography lens and interior photography camera settings
The interior photography usually requires the photographer not only a good artistic look, but also an attentive attitude to technology. In this section, we will tell you about some things that you should pay attention to when shooting indoors. Every experienced photographer in this genre has his secrets and shooting tricks, but for a beginner it is worth considering such aspects.
As a working lens, a wide-angle fixed lens should be preferred. Fix at 30 mm less will distort the space than the zoom of 18-200 for the same 30 mm. Perspective distortion gives any lens. It is not visible on the finished images, because all photos before printing are processed in the Photoshop and the inclined planes are aligned. When you're framing, capture a little more space, then later without problems in the editor fix the falling walls. Do not forget only that if you have a crop-matrix, then you should recalculate the focal length. This is important for interior photography, because the conditions are often very cramped, and you need to cover the space from floor to ceiling
Alexandar Novoselski
The Nikon D80, the flash SB-600 and the Tamron 17-50 mm interior photography lens are very popular. It's better to shoot interiors with a medium-format camera or a digital one with a non crop-factor matrix, because we want the photo on the cover of the magazine to look beautiful. With the Nikon D80, you will not be able to print a picture for an opening spread: even with the minimum ISO setting and excellent exposure of all areas, it is usually not possible to pull out some parts with acceptable noise levels. If you buy photographic equipment for the interior and interior photography lens apart, it will cost at least $ 2,500. Naturally, not every photographer can afford such a sum of money, so many have to refine them, glue the panoramas and make accurate exposures. By the way, it is possible to glue interior photos with some tips and programs, as well as to glue the panorama “Panorama photography: look through a broader lens”.
The Tamron 17-50 mm is good enough as a kit lens, all-rounder, but for the interior it's better to use fixes, and even better tilt-shift lenses (with offset axis). A tripod is better to take quite heavy or to lightly hang a load weight, so there is not the slightest shaking of the camera when lifting the mirror.

Mike Kelley
Another very necessary thing is the panoramic head, because the camera should rotate around the nodal point, so that the image of objects on the matrix does not get different.
Professional recommendation for interior photography camera settings: use the lowest ISO setting, aperture of order f16 or f22, long exposures and a tripod. All these “simple tools” help you get the best photos of the interior.
The exposure depends on the amount of light available. Photographing the interior is usually necessary, using the diaphragm f16, the shutter speed will be approximately 1/60 on a bright and sunny day. The depth of field depends on the task. If the goal is to show the entire interior completely the depth of field should be maximum. To emphasize any one element of the interior or to focus the viewer's attention on a particular piece of furniture, create a shallow depth of field, and the image in your picture will sparkle.
Interior photography lighting is our everything
In front of a photographer, when shooting interiors, the question often arises whether to use studio light. And if we use, so which one? Usually, interior and lighting are inextricably linked and any interference in the form of an additional source of light can be superfluous.
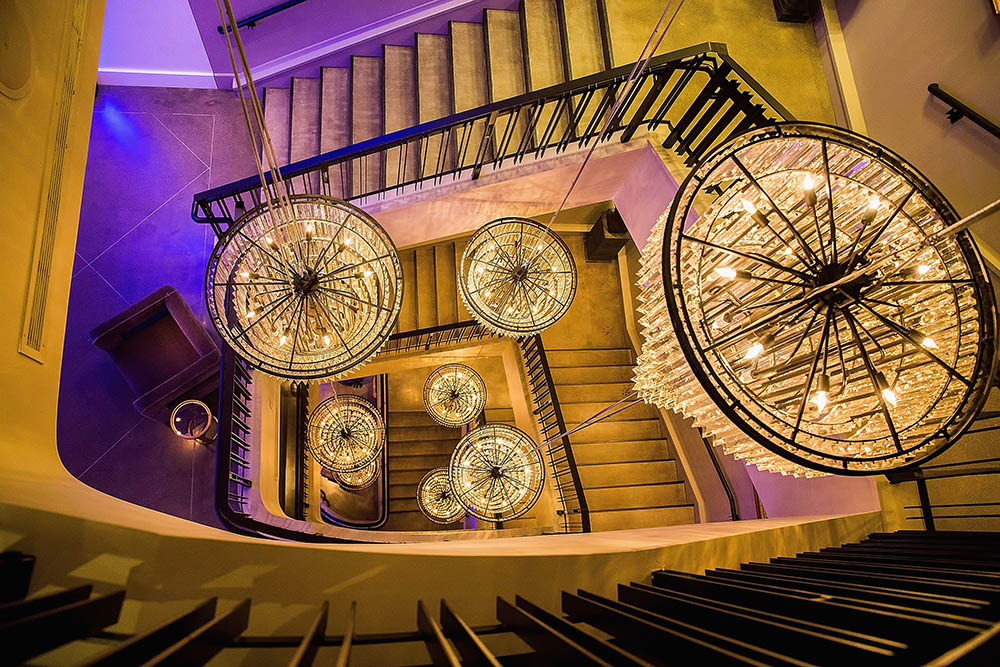
But, on the other hand, the lighting in the interior is designed for human perception and for the camera may be insufficient, dark corners and dips will appear. A person can look at the chandelier, examine its details and then shift gaze and calmly continue to examine the floor. The human eye adapts quite quickly. And the interior photography camera settings just cannot stand such a light drop in one cadre, so it's worth to have a flash in your arsenal to illuminate something sometimes.

Margot Hartford
Do not forget that the halogen lamps that designers like to use are very pleasant to the eye, they have warm light, but they are not compatible with flash. The flash has a color temperature of 5500 K, and incandescent lamps often do not reach 3000 K. If you mix the light of a studio flash or a flash with incandescent lamps, then where the light of the flash will prevail, the objects will acquire a bluish tinge.
To equalize the interior photography lighting it is worth using either studio instruments of constant light, or wear flash corrective yellow gel filters.
If your room is illuminated by natural light, large windows and shooting is carried out in the daytime, the studio impulse devices are the best friend of sunlight and their use is recommended. Since the lighting from the window is bright, but very contrasting, the room will necessarily have dark corners.
The best time to shoot rooms in which there are east windows is morning. It is the best to photograph in the afternoon the accommodation which has windows at the west side. Northern and southern rooms to shoot at a time when there is a bright light.

Ross Grieve
In any situation, you need to pay attention to those parts of the room where, even in bright light, there are enough dark corners or places. It is impossible that in the pictures there were “failed” too dark fragments.
Sunlight fills the photo with energy and warmth. This may mean that the photographer will have to wait a better time in order to make the most effective shots.
The task of the photographer is also to balance the light in such a way that there are no overexposed or dark places in the cadre when you make the photography for real estate. Use all available natural light that is in the room, but as it often creates light fluctuations, therefore, in order to illuminate the “dark corners” you should see about buying the necessary interior photography lighting equipment with which you can solve your problems.
Please note that when shooting indoors, where there are no windows, you need to turn on all the lamps, chandeliers and plafonds. In this situation, extra light will nice to have; the main thing is to correctly balance it.

Kelly Klein
And at the same time it must be remembered that a person, having glanced at the photos of the interior, should not notice the staging light. Usually, looking at them, people (of course, if they are not professionals) do not think about how they are taken. The bottom is that artificial light must be delicate and polite in relation to the natural.
In such things the ingenuity is shown to hide all the artificial, turning it into a natural one. It is important not to overdo it as in the process with high end retouching before after, so that you will understand, watch this video “Take Better Real Estate Photos” and everything will fall into place.
Although you should not do everything too homogenously worked out, do not be afraid to put your light, otherwise the room in the photo will look boring, without an explicit volume and picture, exactly as in the retouching of faces in photos.
Processing of the interior photos
No matter how successful the photography of the interiors has been, after it there is always a stage of retouching the received photos. The processing of interior photos is not much different from processing photos taken in other genres. The master will need to reject unsuccessful shots, selecting from the entire photo session the most high-quality and beautiful ones, this can be done both on the computer and on the tablet; in our article “TOP 5 Best Tablet for Photo Editing” you can read what tablets are suitable for processing your photos. The photographer of interiors uses in his work special computer programs and graphic editors that can make the photo lighter or darker, adjust the contrast, hide defects in the form of scratches, specks, etc. This is as tricky and complex a job as Highend portrait retouching, because the processing of this level requires an artistic taste.
Scott Hargis
If you provide high-quality and affordable photos for advertising or just for individuals, then you need to provide your customers with your best photos, discuss in advance with the customer photo retouching prices, the place and time of shooting, because of all this will depend on the final quality of the future photos.
A universal solution for taking photos of any interior is the method of manually gluing one photo from many cadres with different exposures. After adjusting the interior photography camera settings, the photographer should take 3-10 photos with different exposure times. In some photographs, you will get a good look at the shadows (dark areas), on other lights (light areas) will be good, and still others will serve as the base image and the basis for the final cadre.
Next, it is required to “simply” glue them together in the Photoshop or another editor, this requires certain skills as with skin retouching online. But no automatic mode or program can replace human hands and eyes. The machine does not understand that in which parts of the image is dark for people, and what is light. The machine tends to “honestly” average the result.

At first glance, the interior photography seems fabulously simple. Be sure, it will require effort. You will have to find solutions for a variety of tasks: from exposure selection in the wide tone range of the scene to be shot to white balance in mixed lighting. Ideas for the interior photography can vary greatly depending on the size of the space, as well as the objects located in it, and the purpose of your photo session is not the least. All these tasks you need to decide to get a quality photo.
Do not forget to find details that affect the feelings of the viewer through things: texture, light and color. All these components will help you become a successful photographer in the photography for real estate.

And remember, the interior photography, as well as the internal premises themselves, can be different. Do not be afraid of experiments, try all sorts of approaches and luck will not be left far off.
Share the article with your friends!

Vote for the article
Average rating:
|
| Use your Facebook account to add comments |
| Add a comment via Disqus: |